前言:
由于业务属性,加上crmeb php代码执行效率低下,服务器每晚7点cpu准时报警,swarm搞了三个worker有时候仍然需要手动扩容, 所以干脆移到了k8s。不知道咋从开发也兼职上运维了,好在原来也感兴趣折腾下吧。
本次迁移使用全新k8s集群,等于从0开始。将会使用阿里云ack 基础版本(自带面板和prometheus,主节点免维护)且本身可以无缝升级成pro,基础版最多只支持10个node。
虽然阿里云面板很智能可以基本靠点点点大法完成资源申请绑定等,但还是建议使用本机kubelet + yaml文件管理资源(方便服务重建和跑路)。
迁移后增加成本计算 nat网关费用5元 + slb 4元 + 公网ip费用4毛 加上云盘和入口流量,每天增加费用控制在20以内。
主要安装 loki+alloy+grafaba用做日志。ingress + cret-manager 实现证书下发。
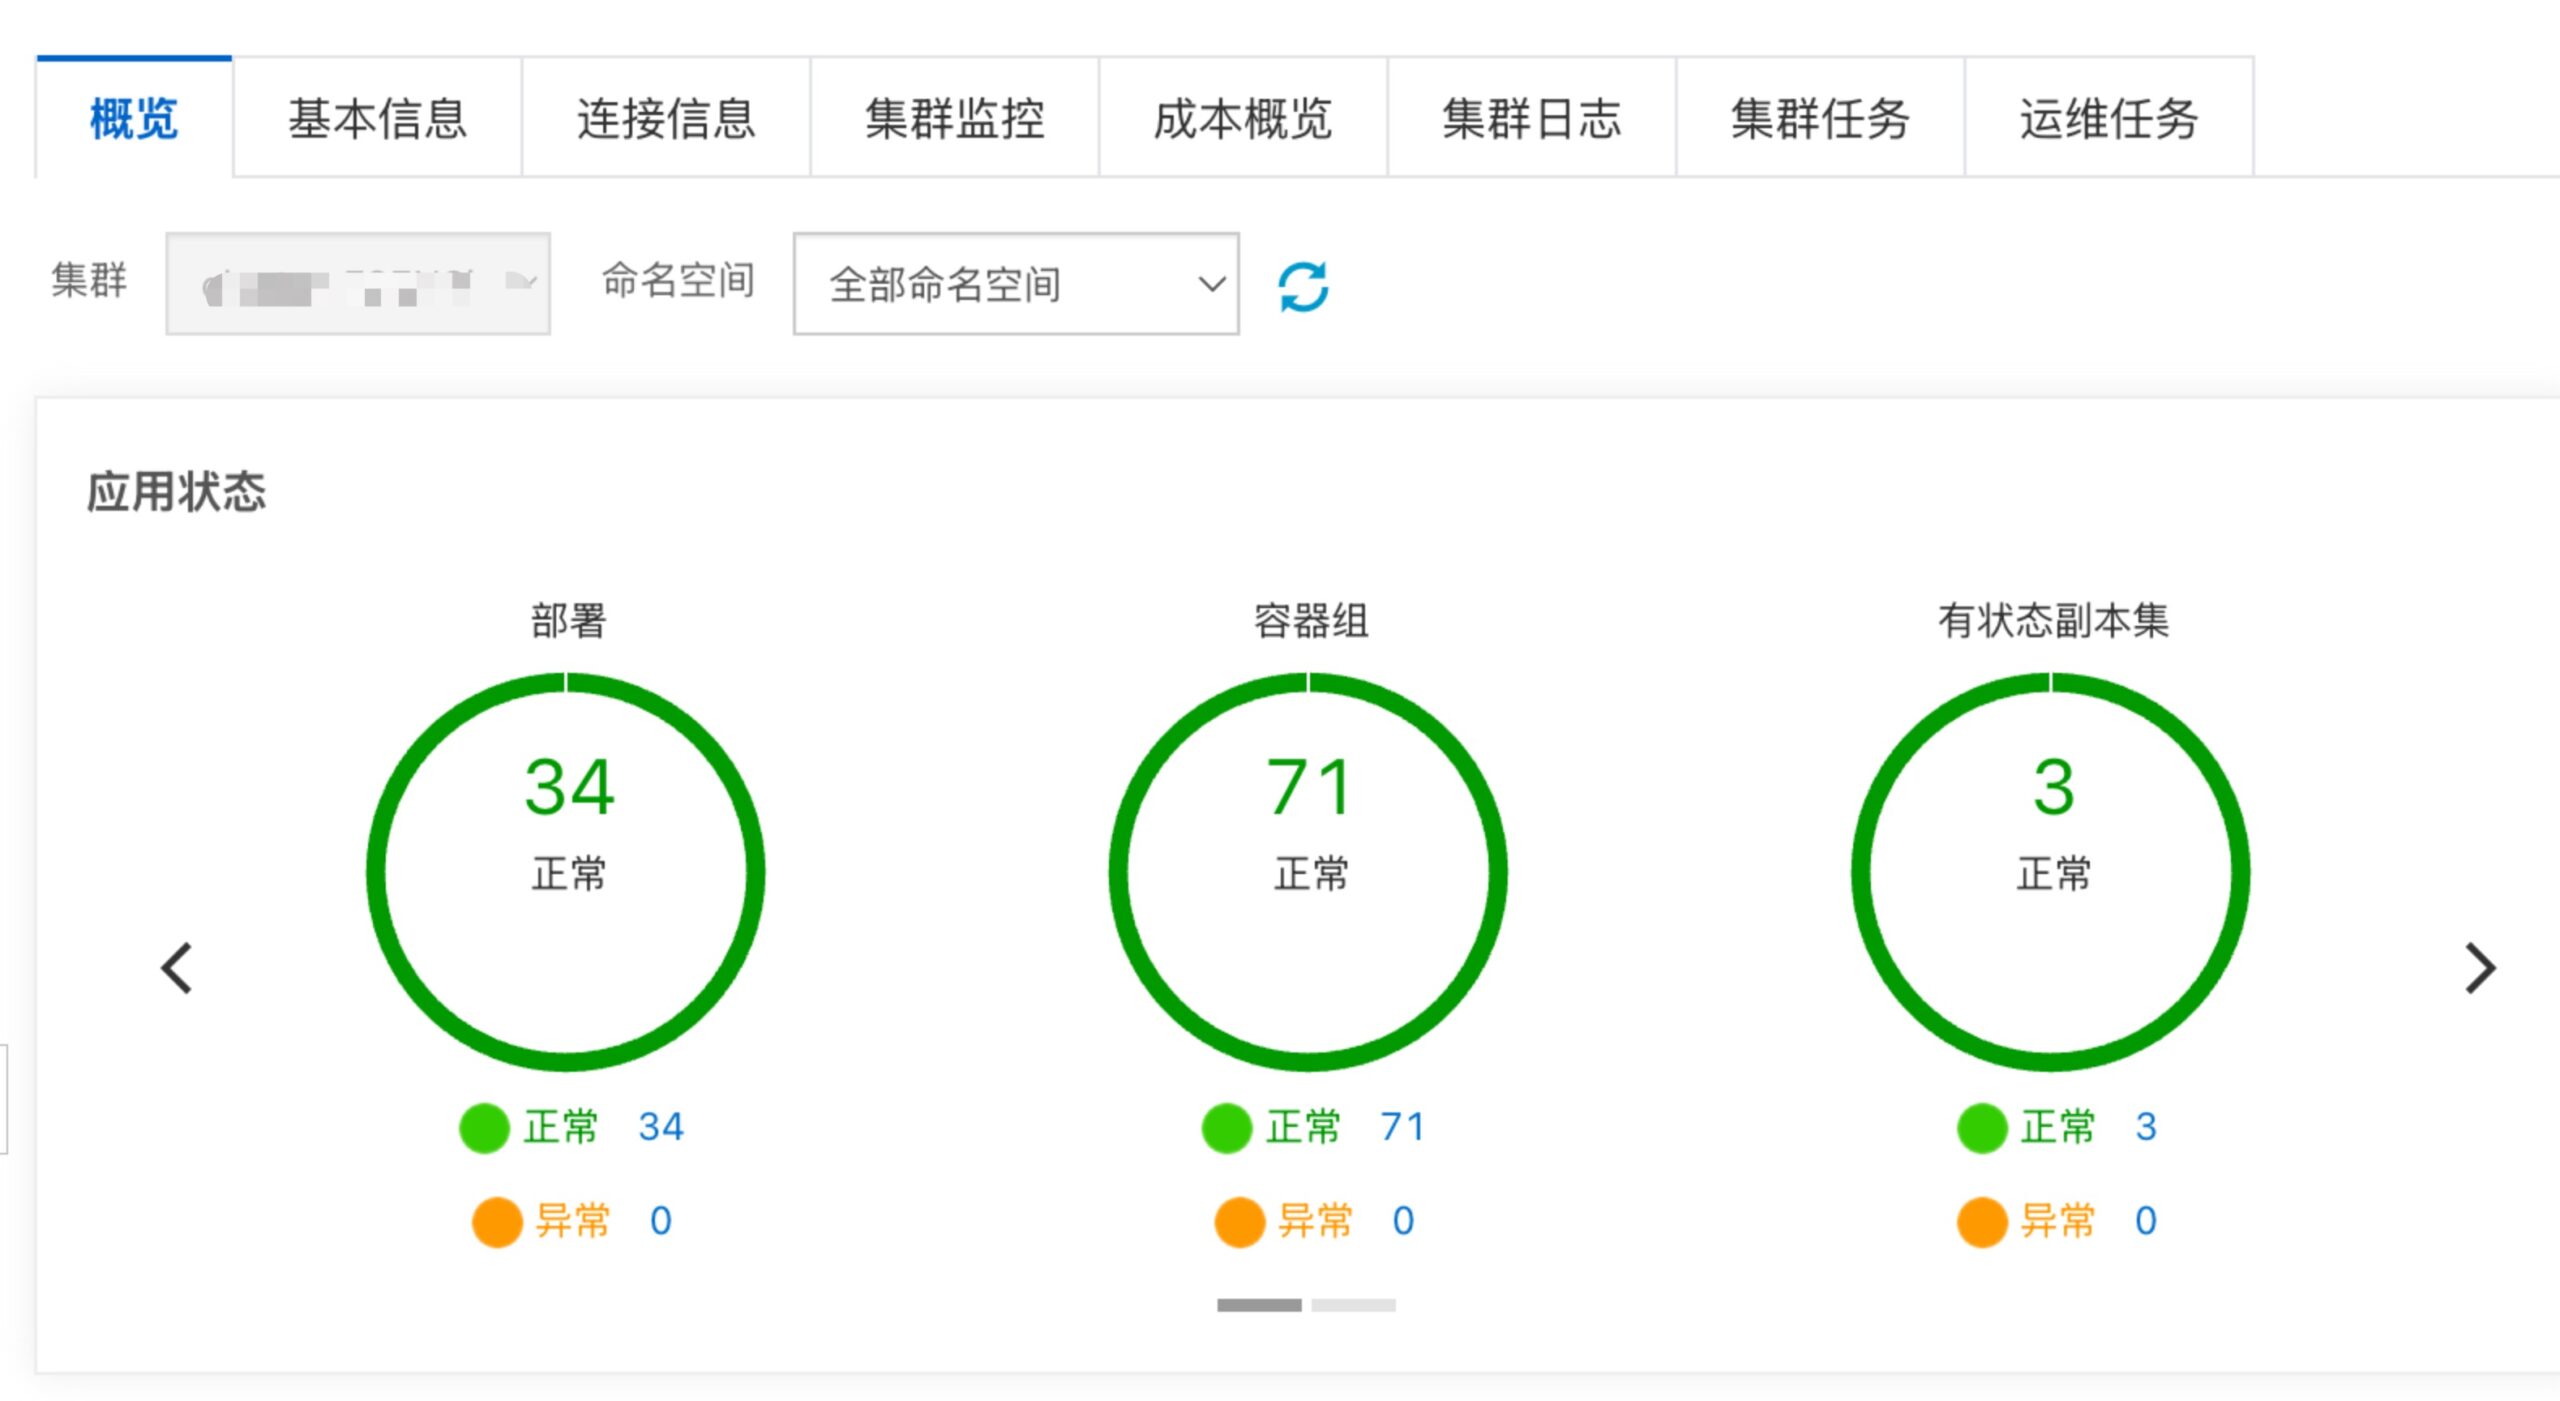
ACK服务创建和网络打通
ACK创建
可以选择绑定EIP(api调用) + SLB(默认且不可删除,如果失误删除集群只能重建)。
网络打通
选择与原服务同地区服务器方便网络打通 选择专有网络 vps对等链接(vpcpeers), 打通原swarm 和 k8s 集群网络。这样可以使原来的数据库服务不需要切换交换机导致服务中断,新集群的pod也可正常访问数据库。
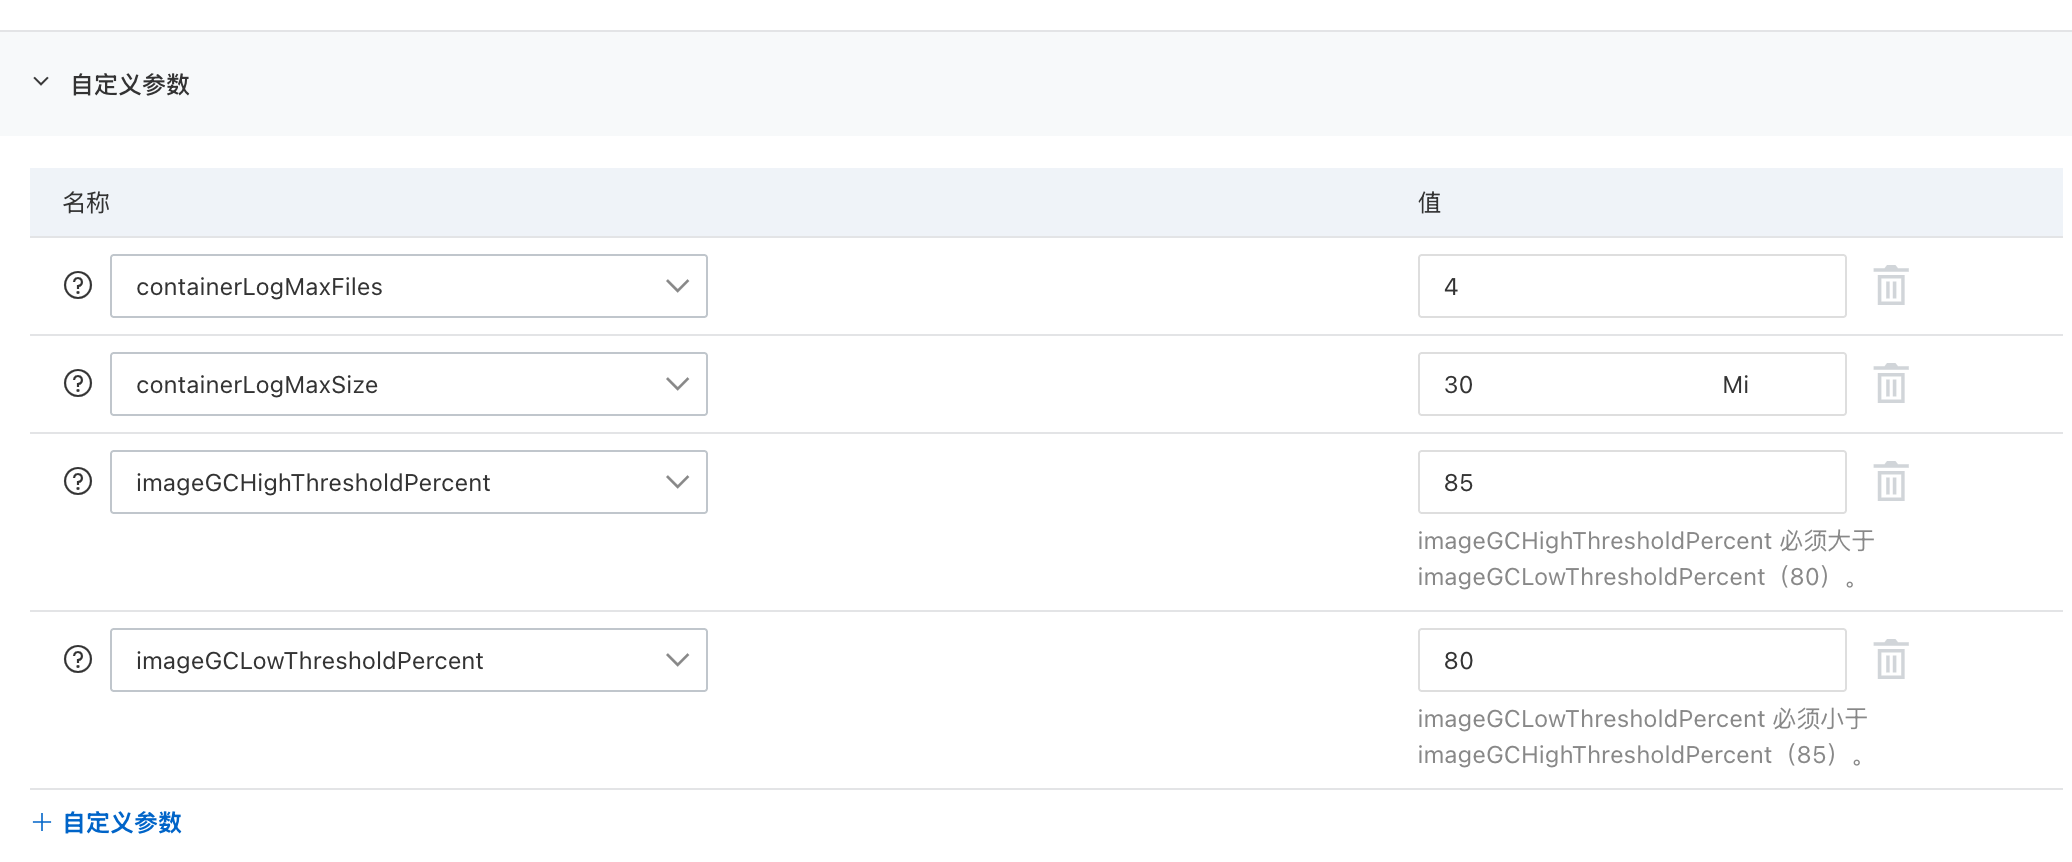
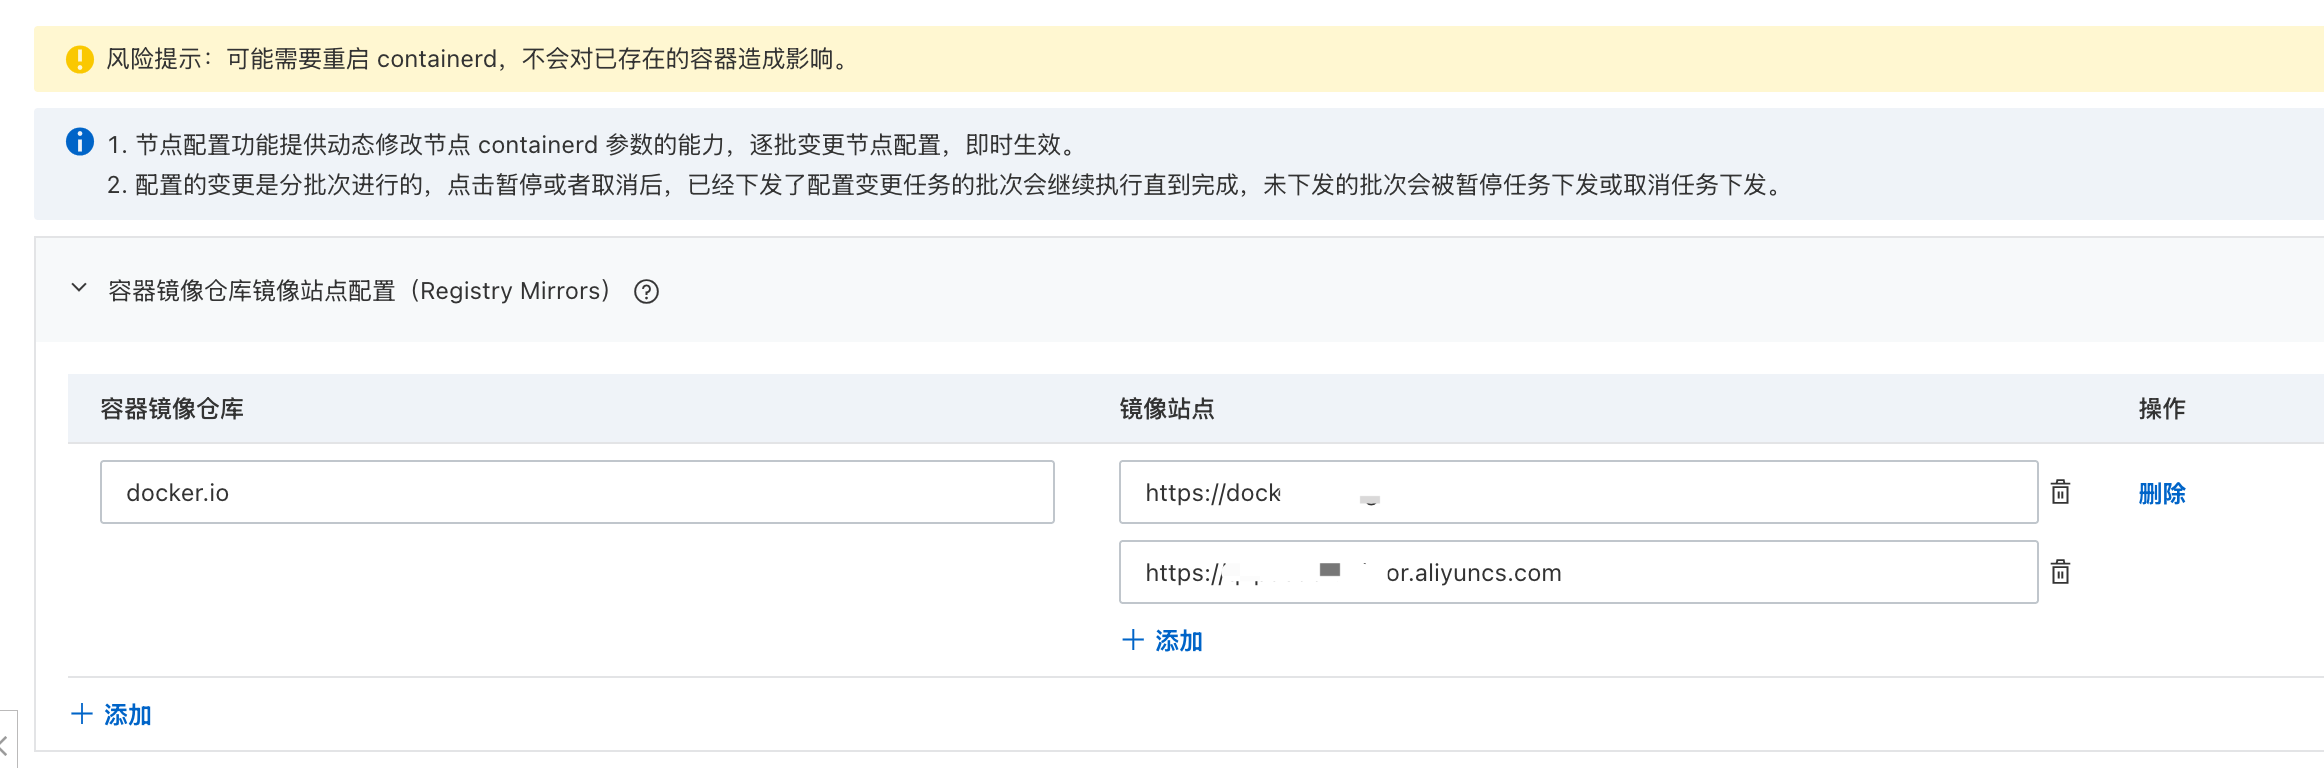
节点池配置
主要是涉及到 kubelet(日志和image自动清理) 和 contained(翻墙)设置
node文件位置 /var/lib/kubelet/config.yaml /etc/containerd/config.toml
可以直接使用节点池配置增加,这样新的node将会直接配置好这些东西
日志搭建
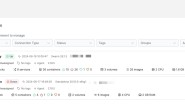
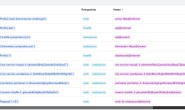
日志效果:
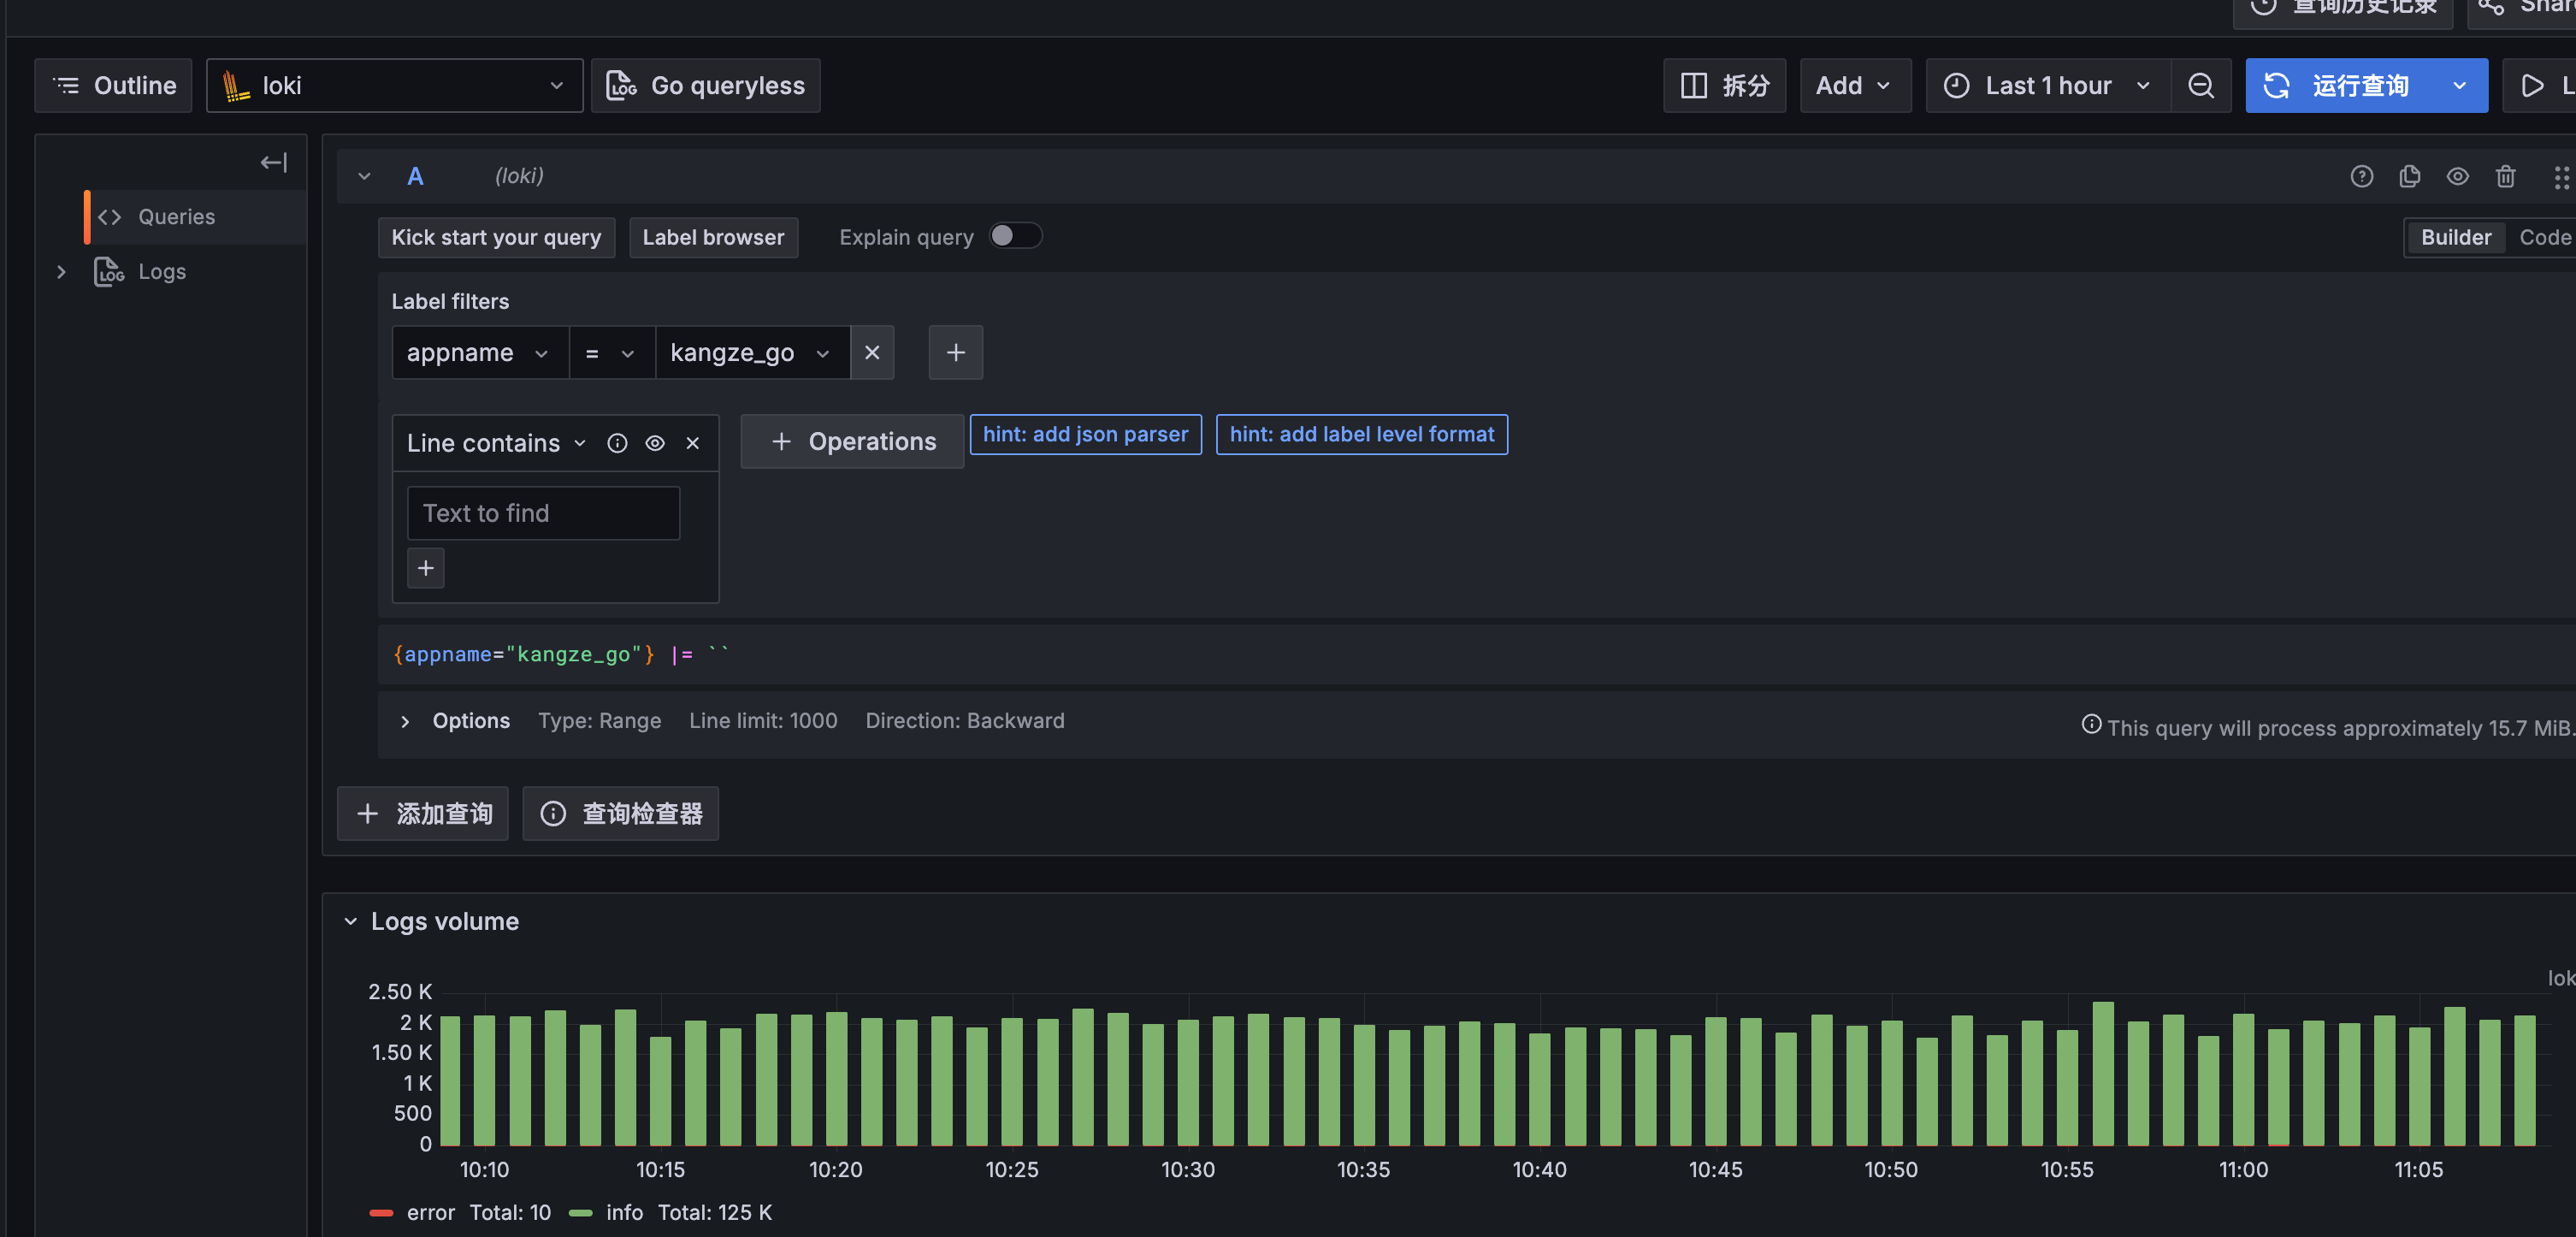
安装Loki记录日志
# Loki安装

helm repo add grafana https://grafana.github.io/helm-charts
helm repo update
helm install loki grafana/loki -f values.yaml
### 安装
helm install --values values.yaml loki grafana/loki
配置使用最小化安装
loki:
  replicaCount: 1  # 设置副本数为1
  commonConfig:
    replication_factor: 1

  schemaConfig:
    configs:
      - from: "2024-04-01"
        store: tsdb  # 或 tsdb
        object_store: alibabacloud
        schema: v13
        index:
          prefix: loki_index_
          period: 24h
  auth_enabled: false

  minio:
    enabled: false
  storage:
    type: s3
    bucketNames:
      chunks: k8s-xxx-oss
      ruler: k8s-xxx-oss

  storage_config:
    alibabacloud:
      bucket: k8s-xxxx-oss
      endpoint: oss-cn-hangzhou-internal.aliyuncs.com
      access_key_id:xxxxx
      secret_access_key:xxxx

table_manager:
  retention_deletes_enabled: true  # 启用自动删除过期日志
  retention_period: 336h           # 日志保留时长(需为周期表时长的整数倍)

lokiCanary:
  enabled: false  # 启用直接发送日志到 Loki

# 不生成 canary容器
test:
  enabled: false

deploymentMode: SingleBinary

singleBinary:
  replicas: 1
chunksCache:
  enabled: false
backend:
  replicas: 0
read:
  replicas: 0
write:
  replicas: 0
ingester:
  replicas: 0
querier:
  replicas: 0
queryFrontend:
  replicas: 0
queryScheduler:
  replicas: 0
distributor:
  replicas: 0
compactor:
  replicas: 0
indexGateway:
  replicas: 0
bloomCompactor:
  replicas: 0
bloomGateway:
  replicas: 0
安装 alloy 采集日志
kubectl create configmap --namespace monitoring alloy-config "--from-file=config.alloy=./config.alloy"
配置如下 注意动态标签只能再申明regex块后被添加,而静态lable则不需要。这是个坑。
alloy:
  configMap:
    content: |-
       local.file_match "local_files" {
          path_targets = [{"__path__" = "/var/log/apps/*/*.log"}]
          sync_period = "1s"
        }
        loki.source.file "log_scrape" {
          targets    = local.file_match.local_files.targets
          forward_to = [loki.process.filter_logs.receiver]
          tail_from_end = true
        }
        loki.process "filter_logs" {
          // stage.drop {
          //    source = ""
          //    expression  = ".*Connection closed by authenticating user root"
          //    drop_counter_reason = "noisy"
          //  }
          forward_to = [loki.process.add_labels.receiver]
        }
        loki.process "add_labels" {
          forward_to = [loki.relabel.relable.receiver]
          stage.regex {
             expression = "/var/log/apps/(?P[^/]+)/[^/]+\\.[^/]+"
             source = "filename"
          }
          stage.static_labels {
            values = {
              "env" = "prod",
            }
          }
          stage.labels {
            values = {
              "appname" = "appname",
            }
          }
        }
        loki.relabel "relable" {
          forward_to = [loki.write.grafana_loki.receiver]
        }
        loki.write "grafana_loki" {
          endpoint {
              url = "http://loki-gateway.loki.svc.cluster.local/loki/api/v1/push"
            }
        }


  mounts:
  # -- Mount /var/log from the host into the container for log collection.
    varlog: false
grafana 安装
helm install grafana grafana/grafana –namespace monitoring –create-namespace
剩下的就是把loki source放到grafana了。
实现自动证书签发
建议直接去看这个文章 https://zhuanlan.zhihu.com/p/691940896
这里只给出一个ClusterIssuer demo 调试时可以使用下面等查看签发状态
kubectl get certificate
kubectl get certificaterequests
apiVersion: cert-manager.io/v1
kind: ClusterIssuer
metadata:
  name: zerossl-production
spec:
  acme:
    # ZeroSSL ACME server
    server: https://acme.zerossl.com/v2/DV90
    email: cyanprober@gmail.com

    # name of a secret used to store the ACME account private key
    privateKeySecretRef:
      name: zerossl-prod

    # for each cert-manager new EAB credencials are required
    externalAccountBinding:
      keyID: xxxxx
      keySecretRef:
        name: zero-ssl-eabsecret
        key: secret

    solvers:
      - dns01:
          webhook:
            groupName: acme.cyanprobe.com
            solverName: alidns
            config:
              region: "cn-hangzhou"
              accessKeyIdRef:
                name: alidns-secret
                key: access-key-id
              accessKeySecretRef:
                name: alidns-secret
                key: access-key-secret
        selector:
          dnsZones:
          - 'xxxx1.com'
      - dns01:
          webhook:
            groupName: acme.cyanprobe.com
            solverName: alidns
            config:
              region: "cn-hangzhou"
              accessKeyIdRef:
                name: alidns-secret-k
                key: access-key-id
              accessKeySecretRef:
                name: alidns-secret-k
                key: access-key-secret
        selector:
          dnsZones:
          - 'xxx.top'